Understanding Your Temp Crown: Complete Guide to Care, Procedure, and Recovery

The journey toward a fully restored, functional smile often involves a crucial interim step that many patients overlook until they are seated in the dental chair. Understanding the role and proper management of this interim restoration is essential for long-term dental health. When a tooth requires extensive preparation due to decay, fracture, or cosmetic enhancement, dentists rarely place the final prosthesis immediately. Instead, they provide a protective interim solution designed to maintain structural integrity, preserve gum health, and allow the dental laboratory sufficient time to craft a custom permanent restoration. This transitional phase plays a vital role in your overall treatment success, and knowing how to navigate it can prevent unnecessary complications, discomfort, and unexpected dental visits. Proper management begins with education, continues with diligent daily care, and relies on clear communication between you and your clinical team. The following guide provides a comprehensive, evidence-based overview of everything you need to know, from clinical fabrication protocols to advanced home care strategies, ensuring your mouth heals optimally while you wait for your final restoration. For comprehensive clinical guidelines on restorative dental procedures, visit the Mayo Clinic's overview of dental crowns.
Understanding the Purpose and Function of a Temp Crown
Temporary restorations serve as the cornerstone of successful restorative dentistry. They are not merely placeholders; they are engineered devices that perform critical biological, mechanical, and esthetic functions during the transitional period between tooth preparation and final cementation. Without this protective barrier, the prepared tooth structure would be highly susceptible to microbial invasion, thermal sensitivity, and structural compromise.
Free calculatorHeadache Location ChartIdentify headache types by locationOpen the calculatorClinical Indications for Temporary Coverage
The primary indication for a temp crown arises when a tooth has lost significant structural integrity. Common scenarios include extensive dental caries that require large fillings, root canal therapy, cracked tooth syndrome, or severe enamel erosion. When dentin is exposed, the pulp chamber becomes highly vulnerable to bacterial infiltration and thermal fluctuations. A well-fitted temporary restoration seals the dentinal tubules, reducing fluid movement within these microscopic channels that directly causes nerve sensitivity. Additional research on dentinal fluid dynamics and pulp health is available through the National Institute of Dental and Craniofacial Research (NIH). Additionally, it maintains proper occlusal relationships, preventing supra-eruption of opposing teeth or mesial/distal shifting of adjacent dentition. From an esthetic standpoint, anterior temporary restorations preserve phonetics, gum contour, and social confidence while the permanent porcelain or zirconia crown is being milled and glazed.
Material Science and Composition
Modern temporary restorations are fabricated using specialized materials engineered for biocompatibility, ease of manipulation, and predictable removal. The most commonly utilized materials include polymethyl methacrylate (PMMA) acrylic resins, bis-acryl composite materials, and pre-fabricated polycarbonate or aluminum shells for pediatric or interim use. Bis-acryl composites have gained widespread clinical preference due to their low exothermic heat generation during polymerization, minimal shrinkage, and superior polishability compared to traditional acrylics. These materials are designed to wear slightly more than enamel, protecting the opposing natural teeth from excessive abrasion. Furthermore, the cement used for retention is specifically formulated to be semi-permanent. Eugenol-based cements provide soothing properties but can interfere with composite resin bonding later, so resin-modified glass ionomers or non-eugenol provisional cements are frequently chosen when the final restoration will be bonded with composite luting agents.
The Clinical Procedure: Step-by-Step Process
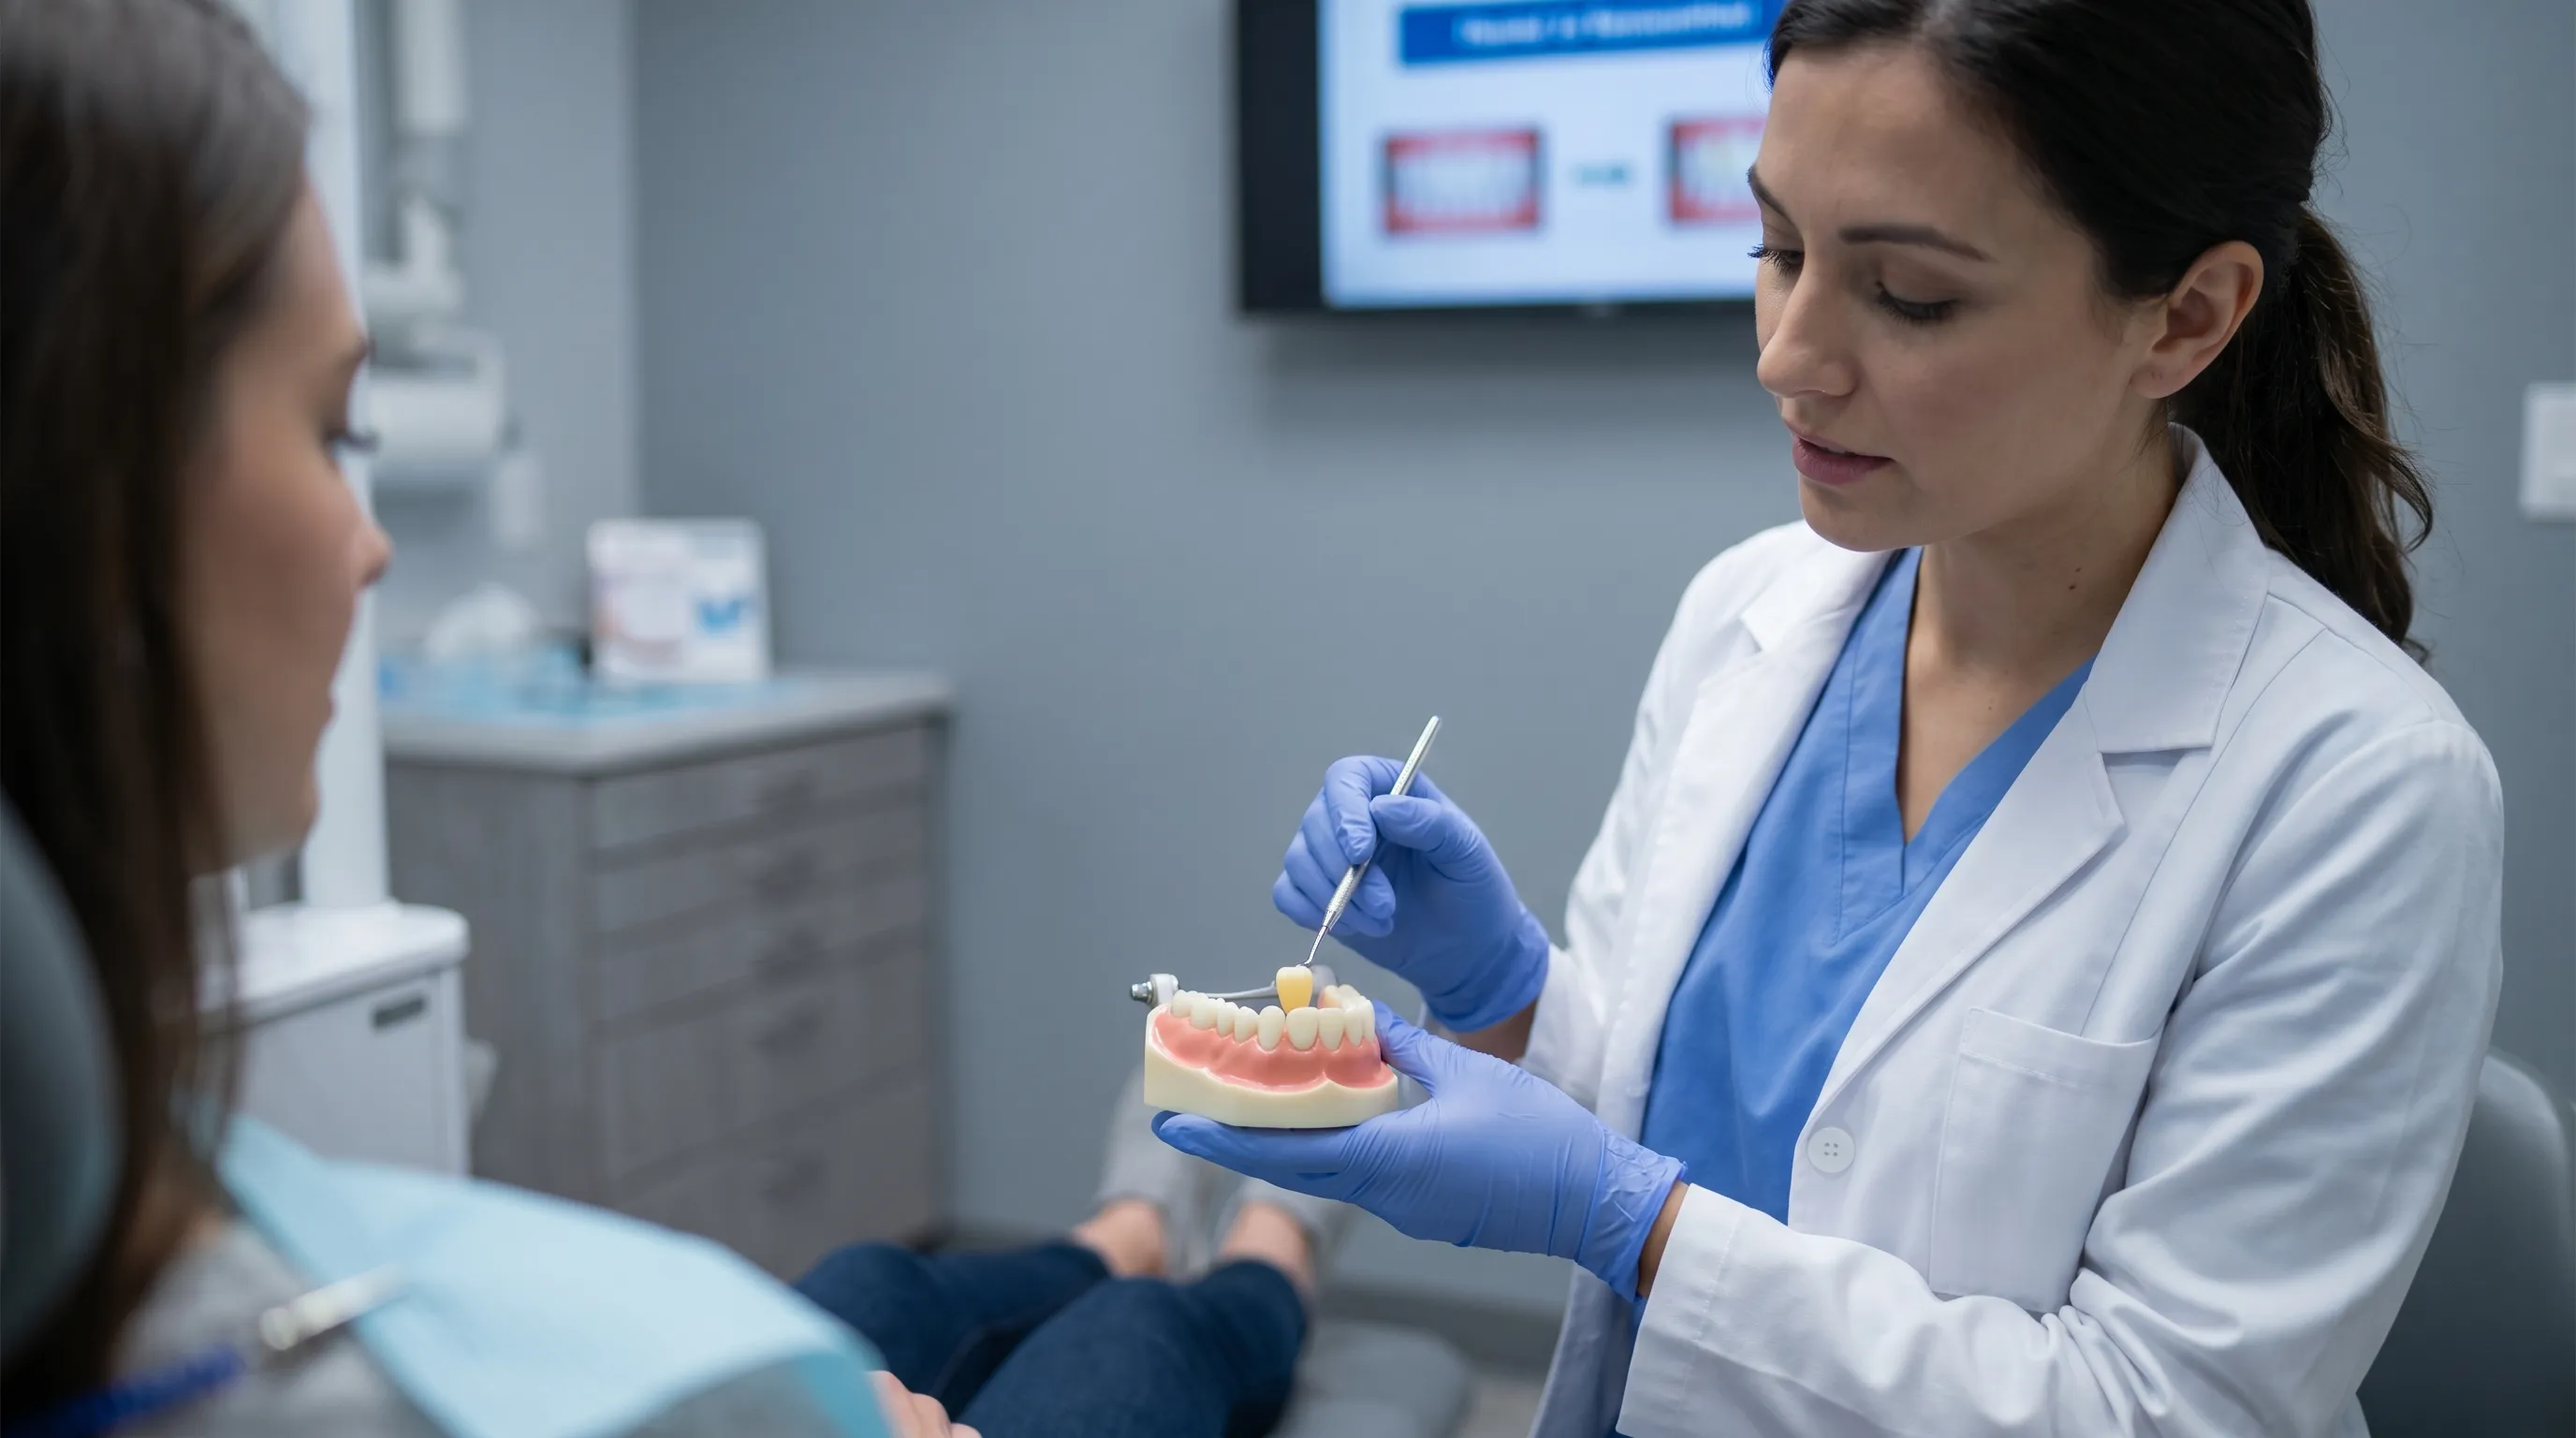
The placement of a temp crown follows a highly standardized clinical protocol rooted in decades of restorative dentistry research. Understanding each phase helps patients appreciate the precision required and the reasons behind specific post-operative instructions. The procedure typically spans two main visits: the preparation appointment and the seating appointment, with the interim phase bridging the gap.
Initial Assessment and Tooth Preparation
Before any drilling begins, the clinician conducts a thorough clinical and radiographic evaluation to determine the extent of structural damage, periodontal health, and occlusal scheme. Local anesthesia is administered to ensure patient comfort throughout the procedure. The dentist then carefully reduces the tooth structure, removing compromised enamel, dentin, or previous restorations while preserving as much healthy tissue as possible. Marginal preparation is critical; a clearly defined, smooth finish line ensures optimal adaptation of both the temporary and final restoration. Depending on the case, margins may be placed supragingivally, at the gingival crest, or slightly subgingival for esthetic reasons. Throughout preparation, water cooling is continuously applied to prevent pulp overheating, and high-volume suction removes debris to maintain a clean operative field.
Impression Taking and Laboratory Coordination
Once the tooth is prepared, the dentist captures precise records for the dental laboratory. This typically involves taking digital scans using intraoral cameras or conventional elastomeric impressions with polyvinyl siloxane or polyether materials. Digital workflows have revolutionized this step, allowing for instant 3D visualization of the preparation and automated design by CAD software. Conventional impressions still hold value in cases with deep subgingival margins or significant moisture control challenges. Alongside the scan or impression, the dentist records your bite relationship using occlusal registration materials, matches your shade using a standardized guide, and documents specific esthetic requests. These records are transmitted securely to a certified dental laboratory where skilled technicians hand-craft or digitally mill your permanent restoration from materials like lithium disilicate, monolithic zirconia, or porcelain-fused-to-metal alloys.
Chairside Fabrication and Cementation
While the permanent restoration is being fabricated, the dental team creates your interim prosthesis. In many modern practices, this is done chairside using a pre-formed matrix or a digitally designed 3D-printed mold. The chosen material is injected into the mold, positioned over the prepared tooth, and held in place until polymerization completes. Once set, the temporary restoration is carefully removed, trimmed with high-speed and low-speed burs, and contoured to mimic natural anatomy. The margins are polished to eliminate plaque-retentive roughness, and occlusal contacts are checked using articulating paper to ensure even force distribution without premature contacts. Finally, the temp crown is cleaned, dried, and cemented with temporary dental cement. Excess material is meticulously cleaned away to prevent gingival inflammation.
Comprehensive Care Protocols for Optimal Healing
Proper aftercare is arguably the most influential factor in preventing complications during the interim period. A temporary restoration is inherently more porous, less wear-resistant, and more prone to dislodgement than its permanent counterpart. Implementing evidence-based home care routines ensures the underlying tooth remains healthy, the gingival tissues heal properly, and the restoration remains securely seated.
Dietary Modifications and Nutritional Guidance
Your eating habits directly impact the longevity and stability of your temporary restoration. During the initial 48 to 72 hours, opt for a soft diet that requires minimal chewing force. Foods like mashed potatoes, yogurt, scrambled eggs, oatmeal, and smoothies provide essential nutrients without stressing the restoration. Avoid hard, crunchy, or sticky foods entirely. Items like hard candies, ice, nuts, caramel, taffy, and chewing gum generate significant occlusal forces that can fracture the acrylic material or pull the crown off the tooth. Additionally, minimize the consumption of highly pigmented beverages such as black coffee, red wine, and dark teas, as these can stain the porous resin surface over time. If you must drink them, use a straw positioned behind the restoration and rinse with water immediately afterward. Chew primarily on the opposite side of your mouth until the permanent crown is cemented.
Oral Hygiene Techniques Without Compromising the Restoration
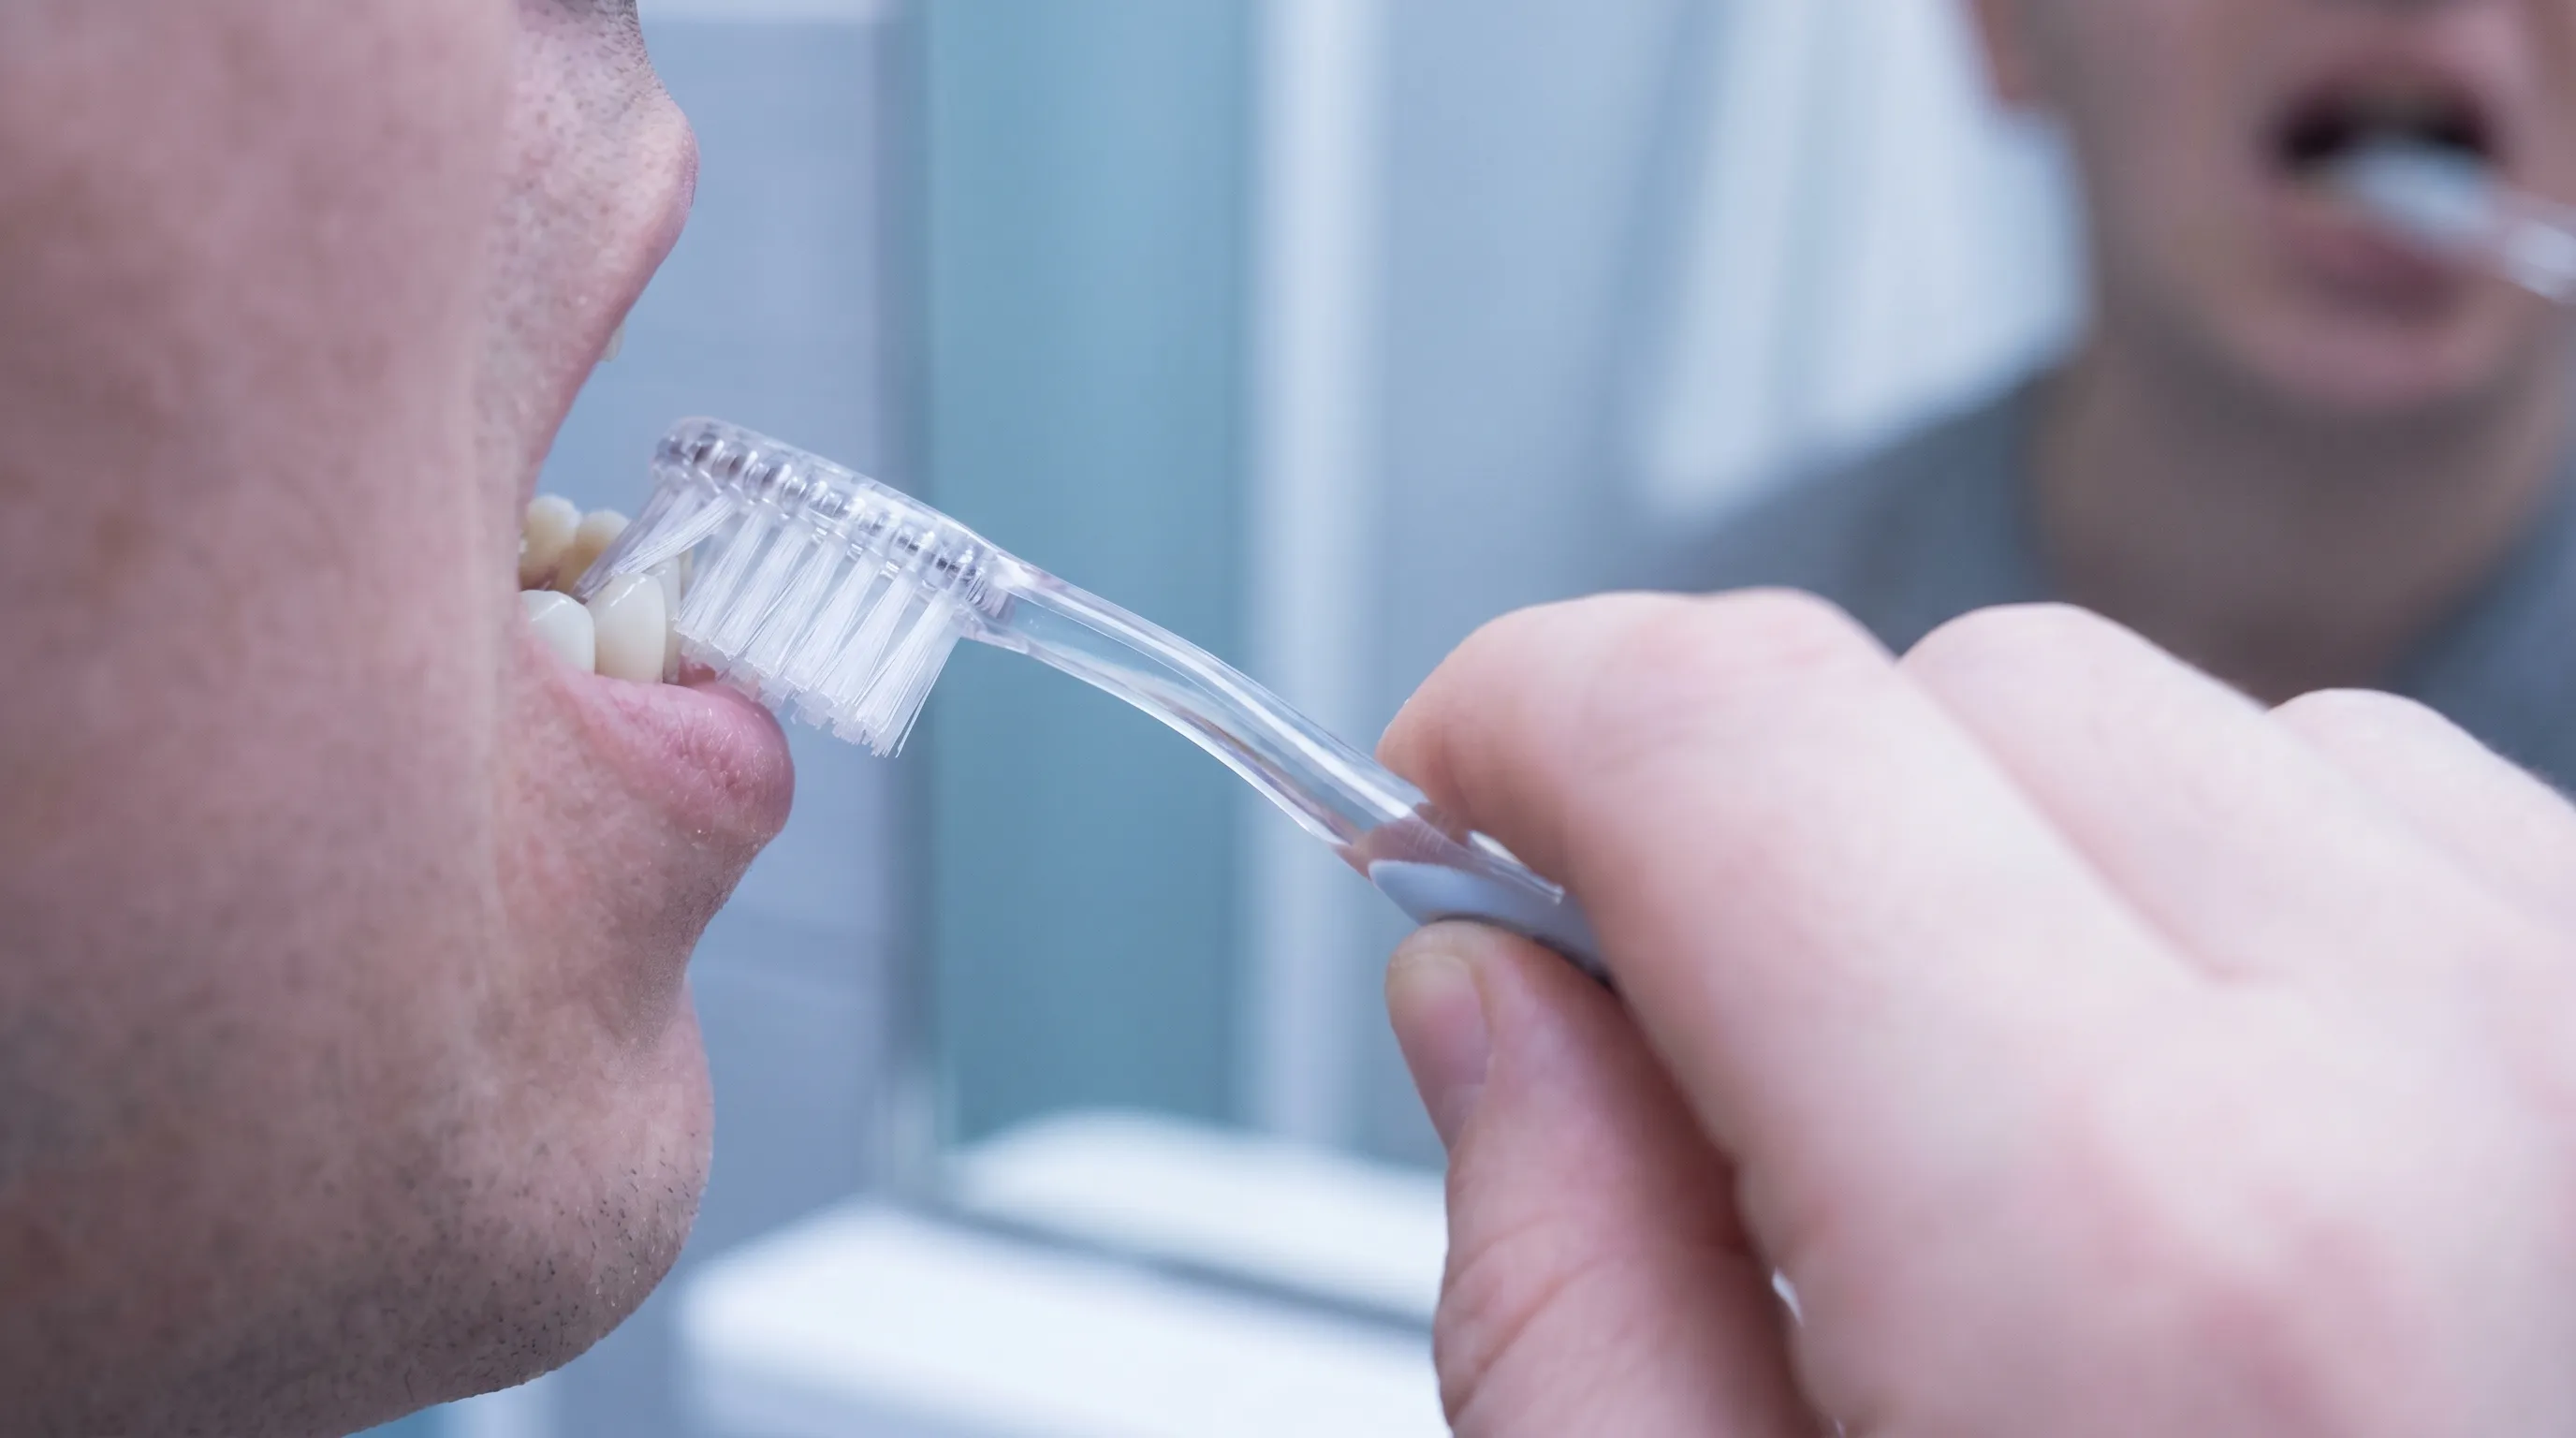
Maintaining plaque-free margins is non-negotiable for periodontal health and successful permanent placement. Brush twice daily using a soft-bristled manual or electric toothbrush with fluoride toothpaste. Use gentle, circular motions along the gumline, avoiding aggressive scrubbing that could irritate recently prepared gingival tissue. Flossing requires a modified technique. Instead of the traditional upward snapping motion that engages the tight contact point and lifts the crown, thread the floss between the teeth, clean each surface thoroughly, and withdraw the floss by pulling it laterally through the contact. This preserves the temporary cement seal while effectively removing interdental plaque. For step-by-step visual guidance, refer to the Cleveland Clinic’s dental flossing techniques. If your dentist recommends an antimicrobial rinse like chlorhexidine or essential oil mouthwash, use it as directed, typically once daily, to reduce bacterial load without causing excessive dryness.
Emergency Management for Dislodgement or Fracture
Despite optimal care, accidents happen. If your temp crown becomes loose or completely dislodged, act promptly to protect the underlying tooth. Do not leave the prepared tooth exposed, as it will rapidly recede from fluid loss, become hypersensitive, and risk bacterial colonization. Rinse the crown gently with cool water, avoiding hot water that could warp residual resin. Inspect the inside for trapped debris, and clean the tooth surface carefully. For temporary reattachment, use an over-the-counter dental adhesive or temporary dental cement available at most pharmacies. Apply a thin layer inside the crown, seat it firmly, bite down gently on a cotton roll to remove excess, and clean away any visible cement from the margins. Schedule an emergency dental visit within 24 hours. Never use household glues, super adhesives, or nail products, as they contain toxic chemicals that cause pulp necrosis and make permanent seating nearly impossible.
Potential Complications and Evidence-Based Management
Even with meticulous technique and perfect home care, biological and mechanical variables can occasionally lead to post-operative complications. Recognizing the signs early and understanding when intervention is necessary prevents minor issues from escalating into complex dental emergencies.
Post-Operative Sensitivity and Discomfort Management
It is normal to experience transient sensitivity to cold, sweet stimuli, or mild biting pressure during the first week. The dental pulp undergoes inflammatory changes in response to preparation trauma, desiccation, and thermal stimuli. Manage this discomfort with over-the-counter nonsteroidal anti-inflammatory drugs (NSAIDs) like ibuprofen, taken according to package directions or your dentist’s prescription. If you have contraindications to NSAIDs, acetaminophen provides effective analgesia without anti-inflammatory properties. Avoid applying topical analgesics directly to the gums unless specifically instructed, as they can mask underlying pathology. Sensitivity that spontaneously occurs, persists beyond two weeks, wakes you at night, or is accompanied by a lingering ache indicates possible irreversible pulpitis or microleakage, requiring prompt clinical evaluation. Learn more about managing dental pain and identifying serious symptoms via the Mayo Clinic's guide on toothaches.
Gingival Inflammation and Soft Tissue Response
The gums surrounding a temporary restoration may appear slightly red, swollen, or prone to minor bleeding during brushing. This is often a physiological response to minor cement residue, marginal overhangs, or the mechanical trauma of preparation and retraction cords. Continue gentle brushing and warm saltwater rinses two to three times daily to reduce edema and promote healing. If inflammation worsens, develops pus, or is accompanied by a foul taste, you may be experiencing localized periodontal infection or cement-induced gingivitis. Professional cleaning, margin adjustment, or crown replacement may be necessary to restore healthy tissue architecture before the final restoration is placed. The CDC emphasizes the importance of maintaining healthy gums to support all dental restorations.
Occlusal Trauma and Bite Adjustment
A properly adjusted temp crown should feel flush with your surrounding dentition, allowing even contact without premature interference. If you notice that one tooth hits first when you close your mouth, or if you experience soreness in the jaw joints and surrounding muscles, the temporary restoration may be slightly elevated. Occlusal trauma can lead to tooth mobility, muscle spasms, and even pulp inflammation. Do not attempt to grind down the crown yourself, as this will alter the marginal seal and create rough surfaces that harbor bacteria. Contact your dental office for a quick occlusal adjustment. Using articulating paper, the clinician will identify high spots and selectively reduce them until harmonious occlusion is restored.
Temp Crown vs Permanent Restoration: Key Differences
Understanding the fundamental distinctions between the interim and final prosthesis helps set realistic expectations and underscores the importance of protecting the temporary phase. While both serve to restore tooth function, they differ significantly in material properties, intended lifespan, and clinical objectives.
Longevity and Structural Integrity Comparison
Temporary restorations are designed for short-term use, typically lasting one to six weeks. The acrylic and bis-acryl materials possess lower flexural strength and higher wear rates than permanent ceramics or metals. They are engineered to be slightly softer to prevent enamel wear on opposing teeth and to facilitate easy removal without damaging the underlying tooth structure. Permanent crowns, conversely, are fabricated from high-strength lithium disilicate, zirconia, gold alloys, or porcelain-fused-to-metal combinations. These materials withstand decades of masticatory forces, resist thermal cycling, and maintain marginal integrity under heavy occlusal loads. Attempting to extend the lifespan of a temp crown beyond the recommended timeframe risks fracture, marginal breakdown, recurrent decay, and compromised permanent cementation.
Cost Implications and Insurance Coverage
From a financial perspective, temporary crowns are typically included in the overall cost of the crown procedure and are not billed separately by most insurance plans. They are considered a standard clinical step rather than an independent restoration. However, if a temporary crown requires replacement due to patient non-compliance, fracture, or extended laboratory delays, additional fees may apply depending on the practice policy. Permanent crowns represent a significant dental investment, with costs varying based on material selection, geographic location, and laboratory fees. Most dental insurance plans cover 50% to 80% of the permanent crown cost after the annual deductible and waiting period, provided it is deemed medically necessary rather than purely cosmetic. Always verify coverage with your provider before proceeding with treatment.
| Feature | Temporary Crown | Permanent Crown |
|---|---|---|
| Primary Material | Bis-acryl composite, PMMA acrylic | Zirconia, lithium disilicate, gold alloy, PFM |
| Expected Lifespan | 1–6 weeks | 10–15+ years |
| Wear Resistance | Low (designed to wear slightly faster) | High (engineered for decades of function) |
| Cement Type | Provisional (semi-permanent, eugenol-free) | Definitive (resin-modified glass ionomer, resin cement) |
| Marginal Precision | Clinically acceptable for short-term sealing | Microscopic adaptation to prevent recurrent decay |
| Insurance Coverage | Typically included in procedure code | Covered 50–80% after deductible and waiting period |
Practical Strategies for a Comfortable Recovery Journey
Navigating the interim period successfully requires proactive planning, mindful habits, and open communication with your dental team. Implementing these strategies minimizes stress, prevents avoidable emergencies, and ensures a seamless transition to your final restoration.
Pain Relief and Inflammation Control
Post-procedure discomfort is best managed through a combination of pharmacological and non-pharmacological interventions. Take prescribed or recommended analgesics before the local anesthesia completely wears off to prevent pain escalation. Apply an ice pack to the outside of your face over the treated area for 15 minutes on and 15 minutes off during the first 24 hours to reduce tissue swelling and vasoconstrict blood flow. After 48 hours, switch to a warm compress if muscle tightness develops. Maintain adequate hydration, as dehydration exacerbates mucosal sensitivity and delays soft tissue healing. Avoid alcohol and tobacco products, as they impair microcirculation, delay clot formation, and increase the risk of dry socket-like complications in extraction sites if adjacent teeth were involved. The World Health Organization documents the severe detrimental effects of tobacco on oral tissue healing and strongly recommends cessation during dental recovery.
Follow-Up Scheduling and Professional Evaluation
Adherence to your scheduled recall visits is non-negotiable. The follow-up appointment allows the clinician to verify tissue health, confirm that the temporary restoration has maintained marginal integrity, and assess your bite before final cementation. If you experience any unusual symptoms—persistent throbbing, visible fracture lines, a metallic taste, shifting of the crown, or difficulty closing your teeth—do not wait for your next scheduled visit. Call your dental office immediately. Early intervention prevents secondary damage and ensures your permanent restoration fits precisely. Keep your dental contact information readily accessible, and inform them of any systemic health changes, new medications, or allergies that could influence your dental treatment.
Understanding the nuances of a temp crown empowers you to take an active role in your restorative journey. By adhering to clinical guidelines, maintaining rigorous oral hygiene, avoiding destructive dietary habits, and communicating promptly with your dental team, you protect both your interim and future investments in oral health. Remember that the temporary phase is not a passive waiting period; it is an active healing and protective stage that directly influences the success of your permanent restoration. With proper care, the transition from preparation to final placement becomes smooth, predictable, and entirely comfortable.
Frequently Asked Questions
How long should you wear a temp crown before the permanent one?
Typically, a temporary crown remains in place for one to three weeks while the dental laboratory fabricates your permanent restoration. In complex cases involving custom milling, specialized layering, or implant healing, this timeline may extend slightly. Always follow your dentist’s specific schedule, as prolonged use of a temporary device increases the risk of marginal breakdown, fracture, and recurrent decay beneath the restoration.
Can I brush and floss normally with a temporary crown?
Yes, you should maintain your normal brushing routine using a soft-bristled brush and fluoride toothpaste. However, flossing requires a modified approach. Thread the floss gently between the teeth, clean both surfaces, and remove it by pulling it sideways through the contact point rather than snapping it upward. This technique effectively removes plaque while preserving the temporary cement seal and preventing accidental dislodgement.
What should I do if my temp crown falls off?
Contact your dental office immediately for guidance. In the meantime, rinse the crown with cool water, gently clean the inside, and dry the tooth surface. Use an over-the-counter temporary dental adhesive or dental cement to secure it temporarily. Avoid household glues or super adhesives, as they contain toxic chemicals that can permanently damage the underlying tooth structure and complicate permanent seating. Schedule an emergency appointment within 24 hours.
Is it normal to experience sensitivity after getting a temporary crown?
Mild to moderate sensitivity to temperature, sweet foods, or biting pressure is common during the first several days as the dental pulp settles after preparation. The temporary crown seals the dentin but does not completely eliminate nerve response to thermal changes. Manage discomfort with over-the-counter analgesics and soft foods. If sensitivity persists beyond two weeks, occurs spontaneously, or escalates in intensity, schedule a clinical evaluation to rule out pulp inflammation or microleakage.
Can a temp crown turn black or change color over time?
Temporary acrylic and composite materials are more porous than permanent ceramics and can absorb pigments from coffee, tea, red wine, or tobacco. Minor surface staining is normal and does not affect function or health. However, if the crown darkens significantly, appears gray at the margins, or develops visible cracks, it may indicate cement washout, bacterial infiltration, or underlying decay. Contact your dentist for a professional assessment and possible replacement to protect the tooth.
Conclusion
Navigating the interim period with a temporary restoration requires patience, vigilance, and proactive self-care. The temp crown serves as a vital biological and mechanical bridge, protecting prepared tooth structure, preserving gingival architecture, and maintaining functional occlusion while your permanent prosthesis is crafted. By understanding the clinical rationale behind temporary coverage, adhering to modified dietary and oral hygiene protocols, recognizing early signs of complications, and maintaining open communication with your dental team, you significantly increase the likelihood of a seamless, successful restoration. Remember that this phase is temporary by design, but the care you invest during these few weeks directly impacts the longevity and health of your final smile. Prioritize professional follow-ups, avoid destructive habits, and treat your interim restoration with the same respect you will afford your permanent crown. With diligent attention to evidence-based care guidelines, your journey from tooth preparation to final cementation will be comfortable, predictable, and clinically successful.
How we work
Researched and drafted with AI assistance, then reviewed by a human editor against the cited sources.
This article is general health information, not medical advice. Consult a qualified healthcare professional about your own situation.